The Battle of
Whitemarsh-Edgehill December 8, 1777
Objectives:
CROWN FORCES: To drive
Washington’s army out of their entrenchments
AMERICAN FORCES: To keep
the Crown forces from breaking into the trenches.
TURN SEQUENCE:
1.
Impact phase: Make all of your charges this
turn. Try to contact and break your enemy. Each side checks morale to see if
they can charge, and withstand a charge.
2.
Manoeuvre phase: Move your soldiers where you
want them to go. Reform any units which failed morale at this time.
3.
SHOOTING phase: Both sides shoot with
infantry and artillery. Cavalry also fire at this time. Check morale of each
side after all firing has stopped. Hits scored result in units being taken off
the table. All units hit on a 4 and up. If a one or two is rolled, regular
troops may rerole. Militia MAY NOT. It takes two hits to take out a unit.
Units inside the
fortifications will need to be hit 3 times to be removed.
4.
MELEE phase: Bayonet and sword hand to hand
combat. Roll dice to see which group wins. Higher roll wins, lower roll is
removed from table.
THE BATTLEFIELD:
The
battlefield is made from one of my camping tables. The terrain is made up of a
plastic piece which is raised, giving the impression of a hill. The table top
has rivers, roads, woods, grasslands modeled. There may also be some trees
used. The Americans get fortification pieces which will be set up on their side
of the board.
This battle was refought by us on Sunday, November 24, 2013,
The Americans were commanded by Trevor and Jessica. Jessica is actually from Pennsylvannia and was tickeled pink to read in my book all the places she went as a child. When she I had accidently shown her my wargamming shots in the summer coming back on the bus from my companies summer assignment, she mentioned that her old hobby was playing warhammer! Trevor was also a sci-fi gammer back in the day, hence my kitchen party this year was a chili feed and wargame.
I took the British as Ian decided he wanted to play video games with his older brother, and didn't know he could join us.
The Americans began their advance by moving their cavalry forward as well as their light infantry and riflemen. The British countered this by advancing their Jagers and Lights forward. The British then advanced by column towards the American defenses. The American artillery began to fire on the British units. The Royal Artillery had some guns with their advances as well as a massed battery.
The American position was well founded. Their trenches on Edgehill held their main guns. Washington had decided to meet the British head on. The American militia held fast suprisingly. The riflemen and light infantry however were eliminated.
The river in front of the American position acted as a barrier. Ian had set up the table terrian. There were three positions the British could cross. This channelled them into a killing ground. The Royal Artillery was eventually able to counter battery fire the American guns. All of their guns were lost. The British Grenadiers then began to charge across the bridge but were kept from crossing. The Hessians were able to cross and make a foot hold. However, after a two-and-a-half hour fight, the game was called as a historical draw.
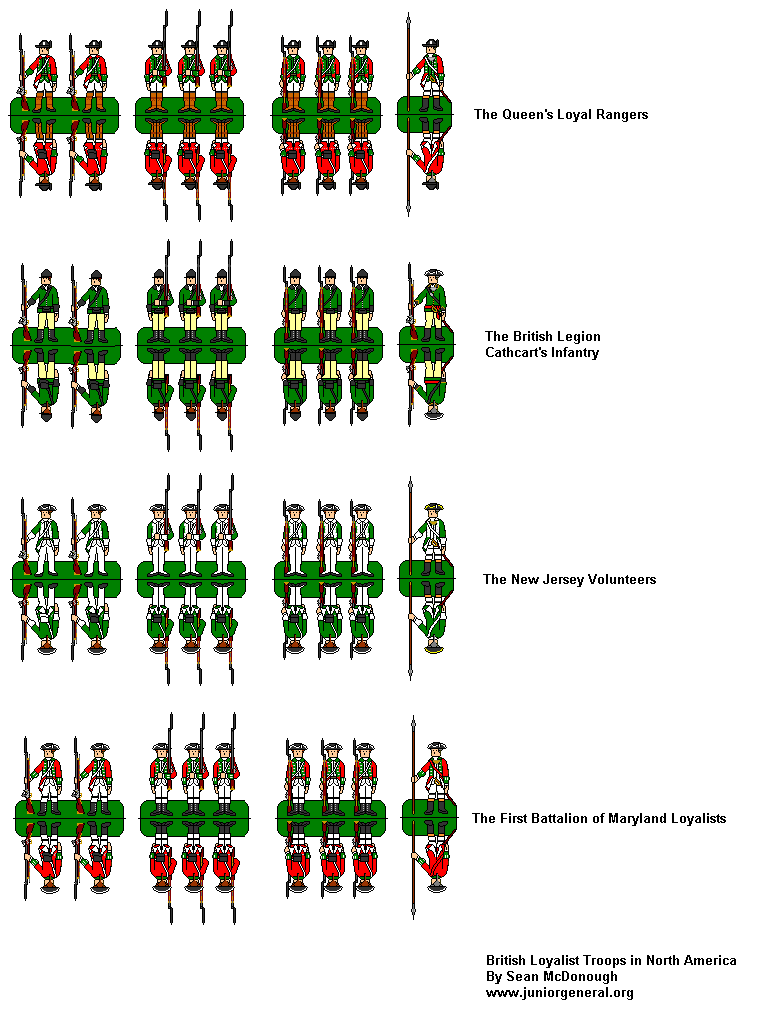
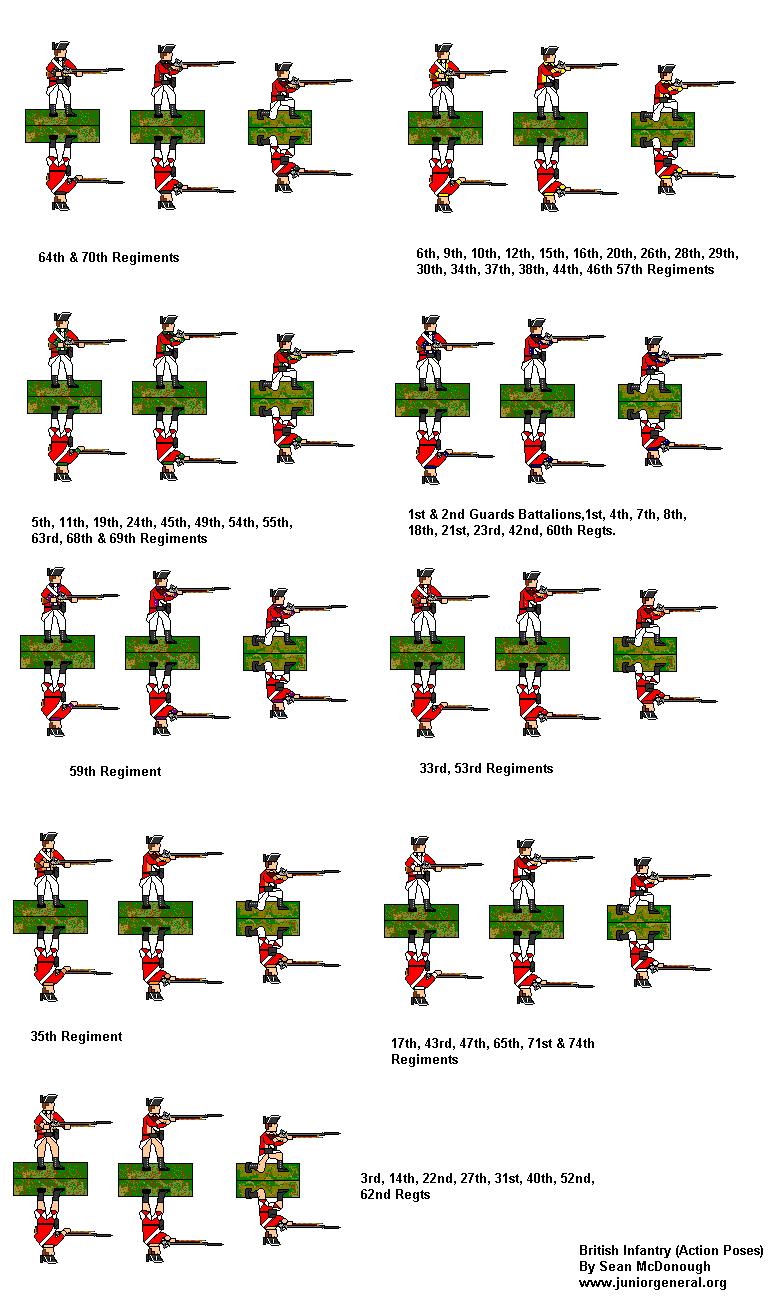
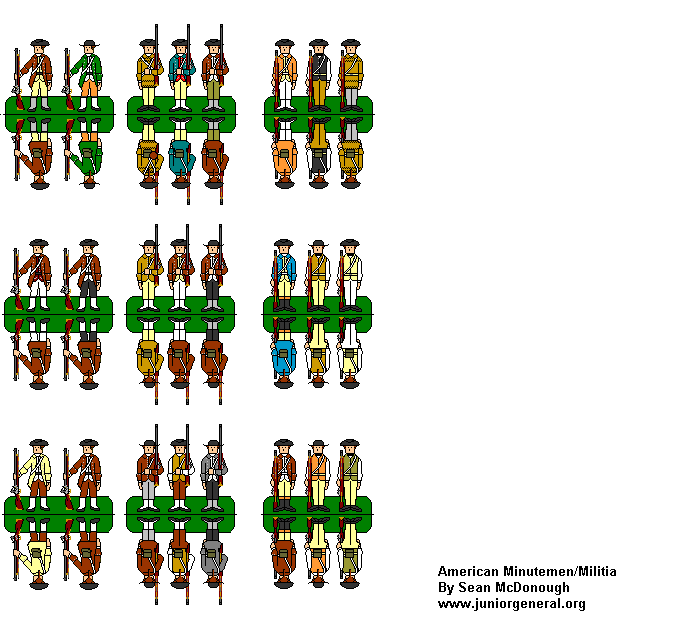
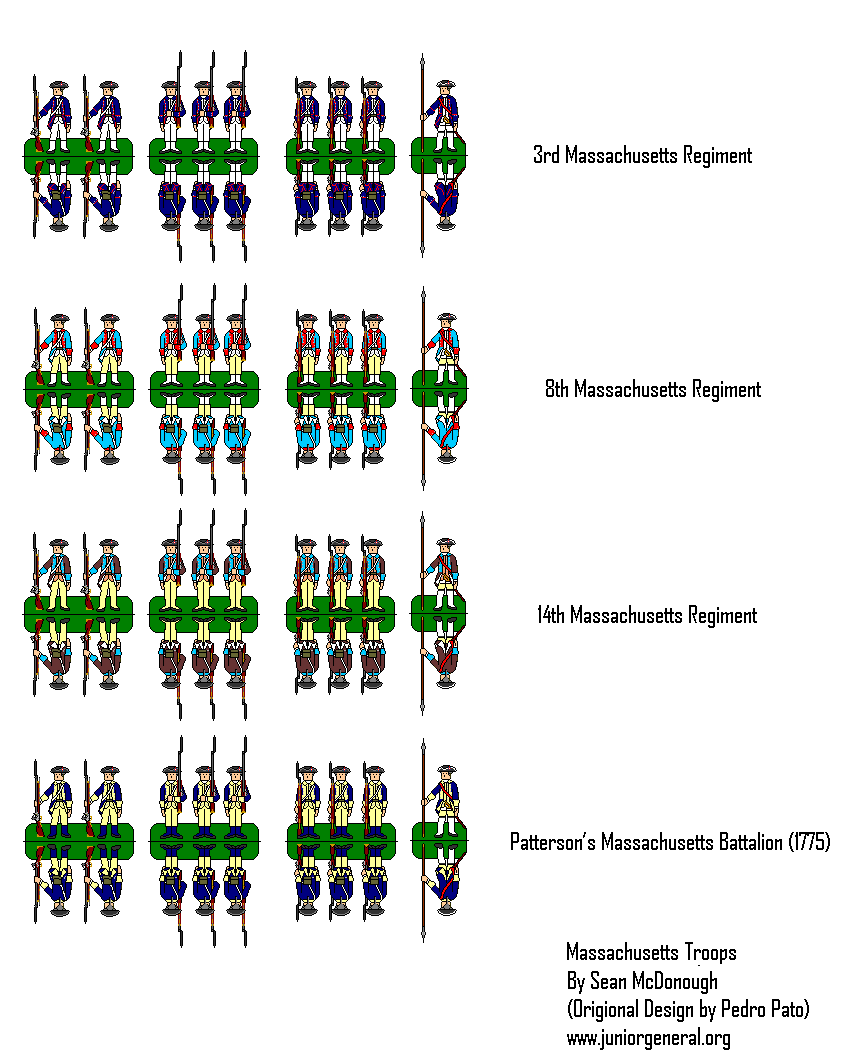
Pictures to follow. Color plates from www.juniorgeneral.org


No comments:
Post a Comment
Note: only a member of this blog may post a comment.